

I am going to be away from home during the release of Forza Horizon 6 and I really want to play. The only things I will have on me are my Macbook, iPad and Steam Deck. Granted, I can play on the steam deck but the performance won’t be that good and why compromise when I have a monster gaming PC at home?
So this blog post is going to document how I setup remote game streaming from my gaming PC to my Macbook and my Steam Deck.
Some pre-requisites:
- Ethernet: game streaming is highly dependent on bandwidth and going wired is the best option. However, that means I can move only my PC near the router without any peripherals.
- Sunshine: my choice for a streaming server. Supports a wide variety of clients and is highly configurable
- HDMI Dummy Plug: The GPU won’t output video if it does not have a display plugged in. This will fool the system into thinking that there is a display and we get video out when streaming in headless mode. They are super cheap on Amazon.
- Moonlight: The client that I am going to install on the Macbook and Steam Deck. Again, it is highly configurable.
- Tailscale: self-hosted VPN. This is what I am going to use to make all my devices think that they are on the same network. Installed on my PC, Mac and Steam Deck.
Streaming PC Setup
Installing Sunshine
Setting up sunshine on Windows is super easy.
- Go to the Github and pick the latest windows release (Use the full installer instead of the portable version as the docs say that you get better performance with the former)
- Download and install ViGEMBus as this is required by sunshine for controller support
- Install Sunshine and setup the username and password.
- Configure any options if required in the configuration menu (defaults are fine too)
Installing Tailscale
- Go to the website and download the version for windows
- After installing, it will ask you to sign-in/create an account. Do that. Use the same account for all your devices.
Headless Setup
This will give video output to moonlight when there is no physical monitor connected. You will need your physical monitor for the initial setup.
- MonitorSwapAutomation: This will force output through the dummy plug when streaming and swap back to your physical monitor when disconnected.
- Read the README to change the default terminal on Win 11
- Copy the folder to a location such as C Drive and run install.bat
- Go to display settings and set up your normal config for displays (regular monitor as primary and dummy as secondary)
- Run the script with the primary config flag
- Connect to your system with moonlight
- Now go back to the display settings and select the only on this display option
- Run the script again with the streaming config flag
- Now, the system will automatically switch displays when you remote in
Bios Settings
Enable the Wake on Lan setting which is usually under advanced settings-> power management-> allow wake by PCIE devices. This will allow your network card to wake up your system.
Also enable the default behaviour on AC power loss to be power on which will allow your system to recover from sudden power loss.
In the Windows settings, disable fast boot. In the Device manager settings in Windows, select your Network Adapter. Go to the properties and under power management, enable allow packets to wake this computer and additionally check the only magic packet option (this will prevent your system from waking up due to random network traffic). Under the advanced settings tab, make sure Wake on Lan and all the related options are enabled.
Setting a static ip for the streaming pc on your router
Login to the admin console on your router. Go to the LAN settings and reserve an IPv4 address for your system by providing the MAC address of your NIC
The streaming setup is now completed!
Client setup
On the clients that you wish to connect to the streaming pc, download and install moonlight game streaming. Additionally, install tailscale and sign in with the same account that was used on the client system to bring all of these devices under the same tailnet.
While you are still on your LAN, open moonlight which should show your streaming PC on the screen. Select it and it will show a PIN. This PIN should be entered on the streaming PC. Go to the Sunshine WebUI and select the devices option after signing in and enter the PIN there. Now you should see the desktop option show up on moonlight. Click on that and Volia, you are streaming successfully.
If you are away from your home network, turn on tailscale on the client and click on the add device button in moonlight and give the tailscale ip (that should allow you to connect). 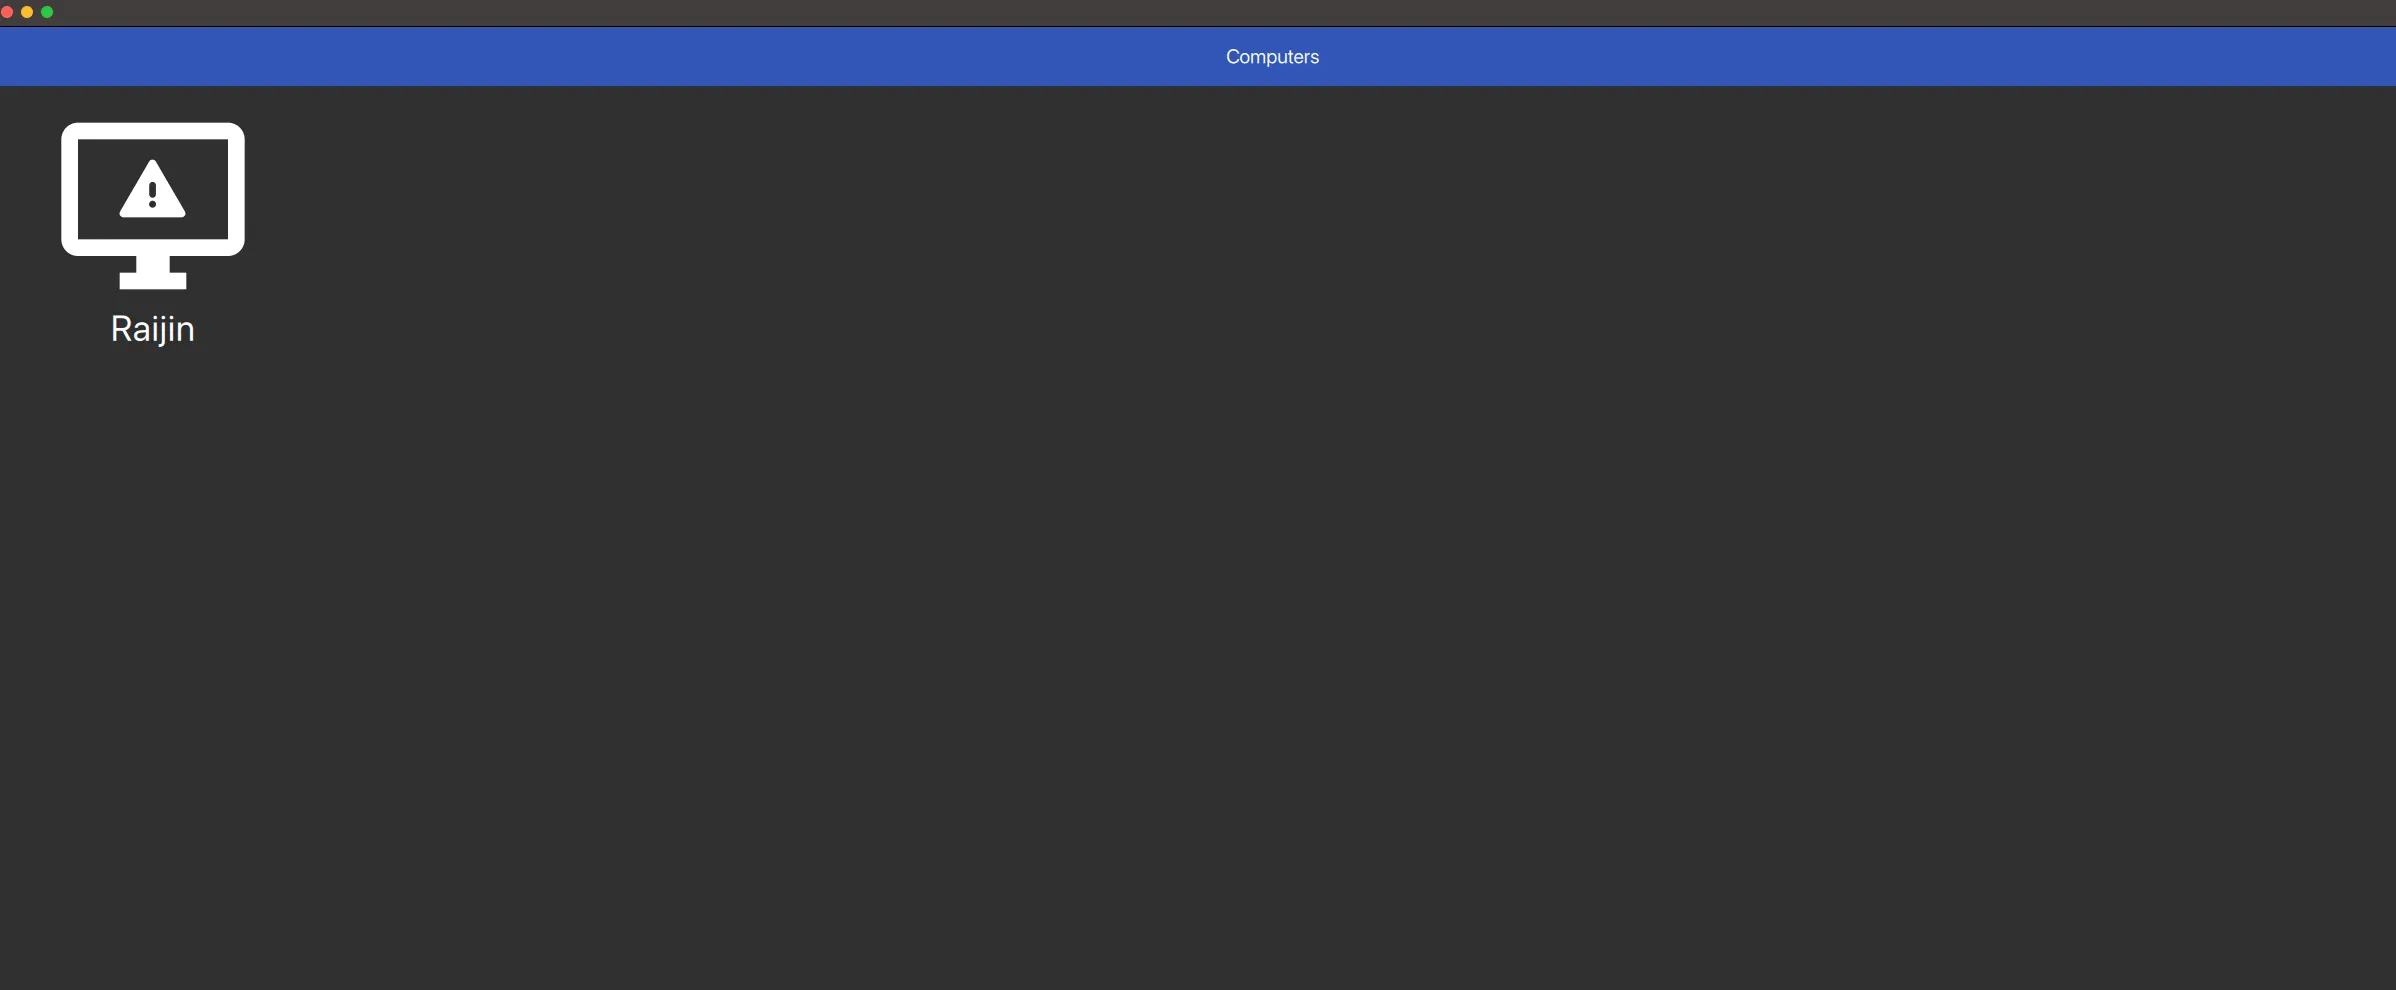
Waking up the PC remotely
On your LAN, you can just select the Wake PC option on moonlight and it will wake up the pc but it doesn’t work through tailscale. The reason is that the broadcast address is different which means the magic packet never reaches the NIC of your gaming PC.
The solution to this is to use a separate device which can send WoL (Wake-on-Lan) packets to your system. In my case, I have a server which is hardwired to my router through ethernet and on the same LAN as my gaming PC, so I will use that to forward the WoL packet. I have set up ssh through tailscale to my server with my phone and my Mac so that I can send the command from anywhere.
There are a few applications on Linux that you can use for sending the magic packet which are etherwake and wakeonlan. The latter worked for me as long as I provided both the static ip of my PC and the MAC address of my NIC.
I wrote a simple script which sends the magic packet, waits for 35 seconds for the pc to boot and sends ping commands to check if the host is up or not.
echo "Sending magic packet to system"
wakeonlan --ip <static ip of pc>  < mac address of nic>
echo "Waiting for 35 seconds"
sleep 35
echo "Sending ping"
# check local ip first, then check tailscale ip
if ping <static ip of pc> -c4
then
	echo "PC started"
else
	echo "PC not started"
fi
I run the script and after I get the message, I open moonlight and connect to my PC.
It is that easy, now I can stream from wherever in the world as long as I have a strong internet connection for my client.
Streaming experience
I limited the streaming resolution to 1080p 60fps so that I could have the smoothest possible experience without sacrificing too much on quality and the streaming experience was surprisingly good. My dualsense controller gets recognized as a generic xbox controller (limitation of moonlight), so no fancy vibrations from first party sony titles. There was no noticeable latency with me being able to play multiplayer games with my friends. There have been some cases where the bitrate causes the entire stream to lag but I assume this is dependent on the game as network heavy games could be competing for bandwidth with the streaming software. I am going to test this hypothesis by getting a faster internet connection for my home network and see if that fixes the issue. For example, when playing warhammer 40k there was no lag spikes at all but there were very frequent lag spikes when playing forza horizon 6. I also think that these bitrate issues might be caused due to me running all of my streaming traffic through tailscale.
However, I have to admit that it is magical playing games on maxed out settings on my macbook or on my steam deck with the clients sipping battery. The Steam Deck especially is revitalized with this and I can see myself playing a lot more!